Press-on nails are such a fun and effortless way to change up your manicure in short time, but one common worry is how long they actually last.
While they’re quick to apply and often look just as pretty as salon extensions, many people find that their press-ons start to loosen or pop off sooner than expected.
The good news is, with a few simple tricks and the right prep, you can make your press-on nails stay much longer — sometimes even up to a week or more.
In this post, I’ll share step-by-step tips along with my own photos to guide you. From preparing your natural nails to choosing the right adhesive, every little detail adds up to a stronger hold.
Whether you’re wearing them for a special occasion or just love switching up styles, this easy guide will help you how to properly apply your press-on nails.
( This post contain affiliate links. If you make a purchase through these links, I may earn a small commission at no extra cost to you. )
How to Apply Press on Nails So That They Last Longer
Step 1 Nail Cutting :
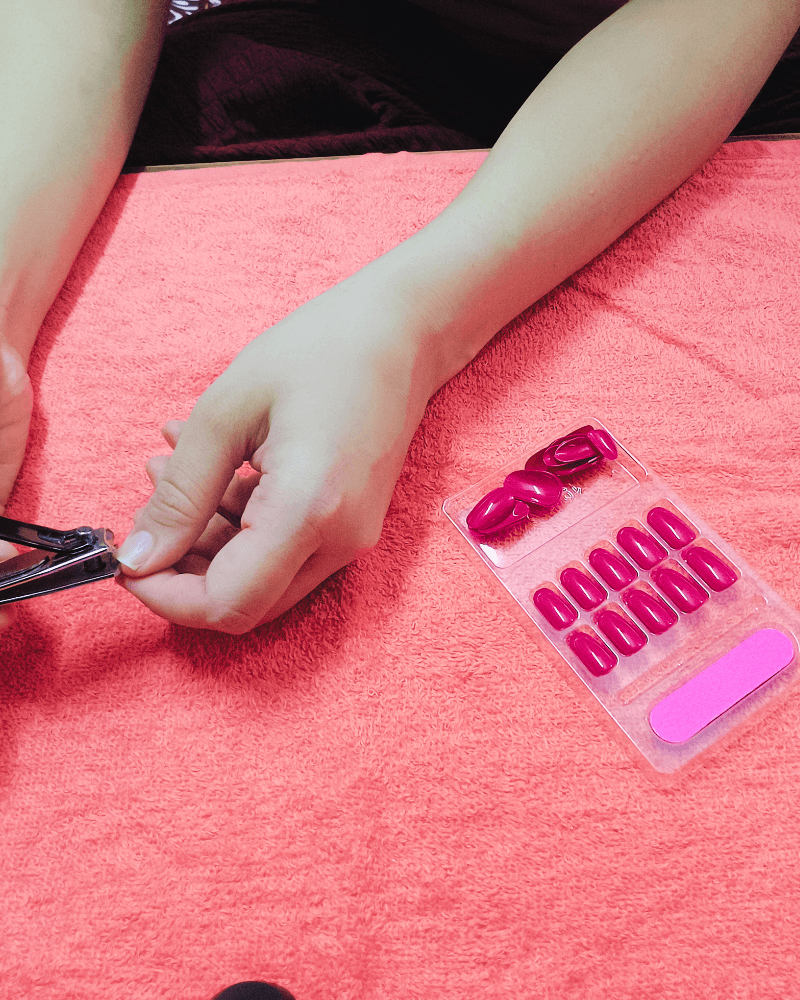
So, the first thing you need to do is to cut your nails short. For press-on nails to sit comfortably and last longer, it’s important to trim your natural nails short.
Longer nails can create uneven surfaces under the press-on nails, which makes them more likely to lift or pop off.
Use a clean nail clipper and carefully cut your nails to a manageable ( short ) length. Keeping them short also helps prevent accidental bending or pressure on the press-ons while you go about daily tasks.
Think of it as creating a smooth, stable base — a simple step that makes a big difference in durability.
Step 2 Push Back Cuticles :
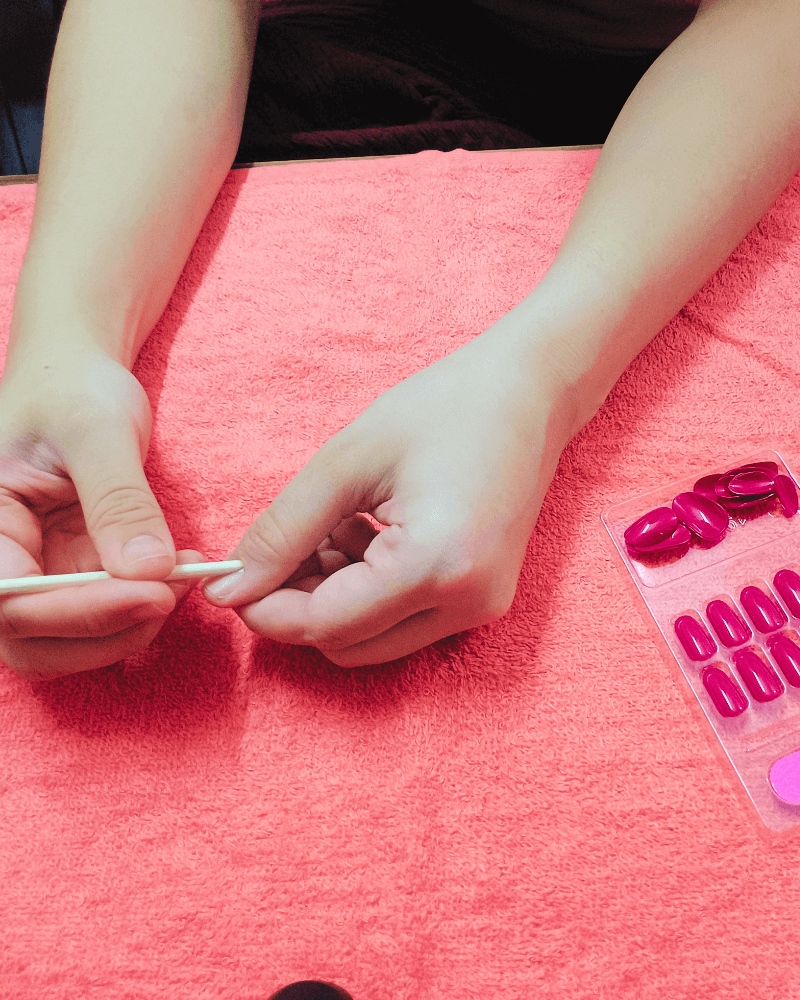
The next thing is, to gently push back your cuticles, using the cuticle pusher that often comes with the kit.
This step clears the nail bed and ensures the press-on sits flat against your natural nail, leaving no gaps where lifting can occur.
Be gentle and avoid cutting or over-pushing, as the goal is simply to create a neat surface for better adhesion.
Taking a moment to prep your cuticles not only makes the nails last longer but also gives your manicure a clean, professional look.
Step 3 Nail Buffing:
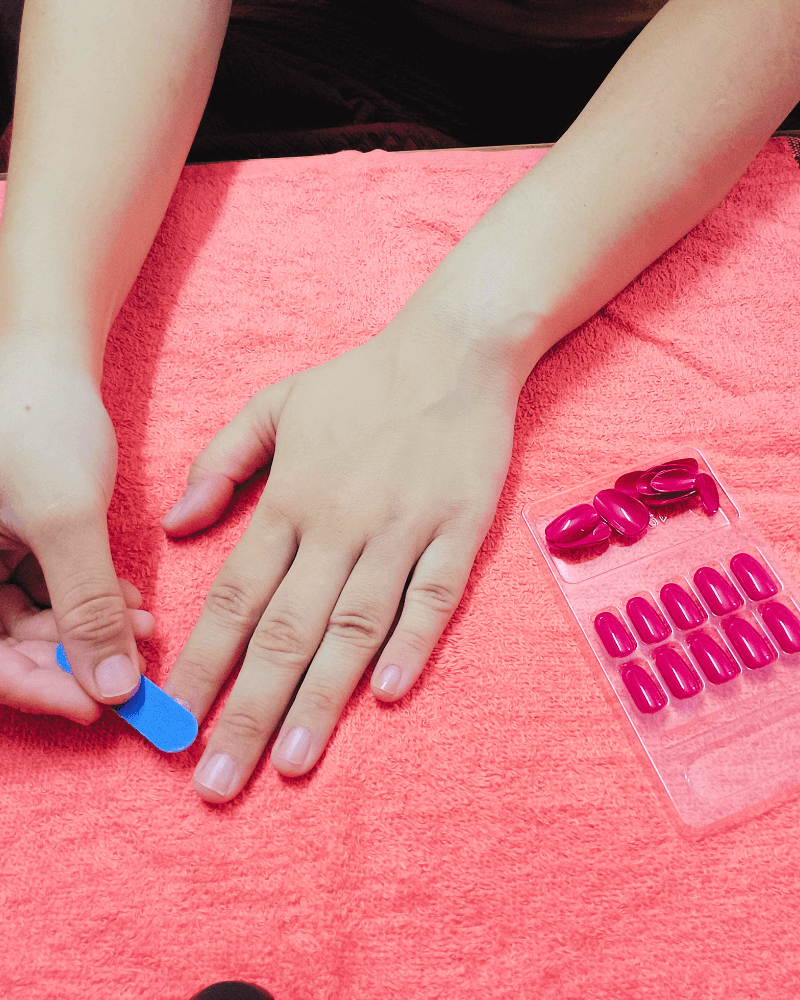
Buffing your nails, is a small but important step that makes a big difference in how well press-on nails adhere.
You can Use the nail buffer provided in your press on nails kit, gently buff the surface of each nail to remove the natural shine.
This creates a slightly rough texture, which allows the glue or adhesive tabs to grip better. Be careful not to over-buff — just a light touch is enough.
By taking away the smooth surface, you’re helping the press on nails stay secure for days, making your manicure more durable and salon-like.
After buffing your nails, clean your nails with cotton, smooth cloth or many times a press on nail kit, also has an alcohol pad.
Step 4 Select the Right Press on Nail Size :
Before applying, take a moment to match each press-on nail to the size of your natural nail bed. Most sets come with multiple sizes, so lay them out and test which fits best from side to side without overlapping onto your skin.
If a nail feels slightly too big, gently file the edges for a custom fit. Choosing the correct size ensures the press-ons adhere evenly, stay secure, and looks natural.
This little step prevents lifting and makes the manicure more comfortable to wear for days
Step 5 Applying the Press on Nails:
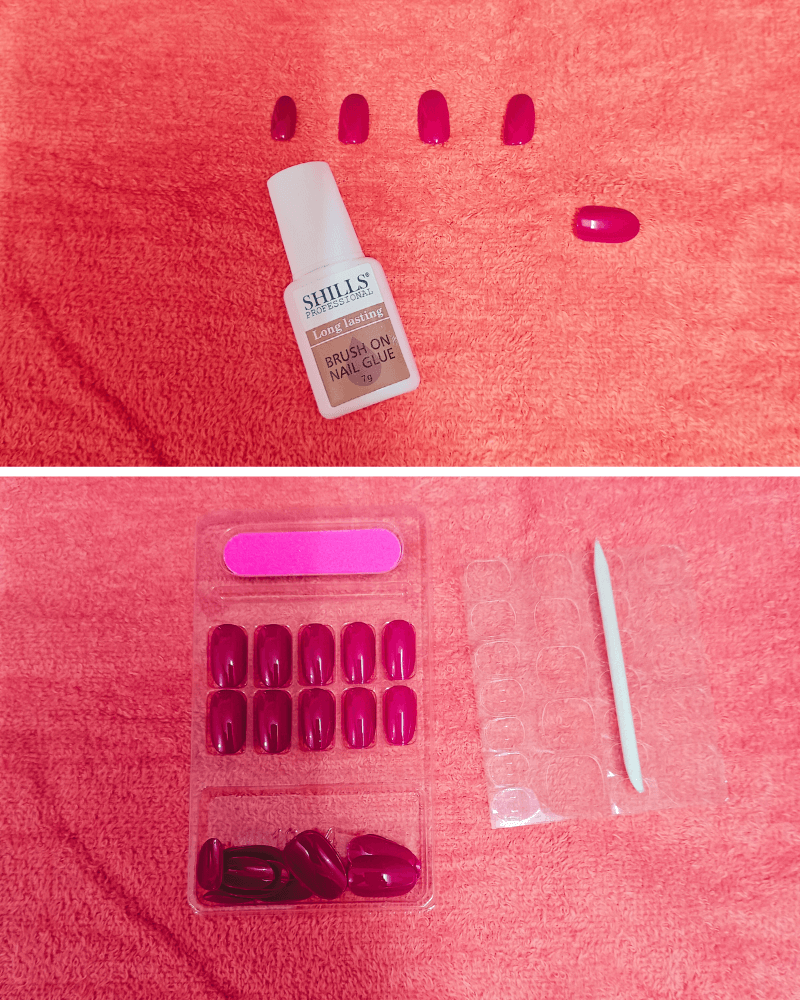
When it comes to applying press-on nails, you’ll usually have two options — adhesive tabs or nail glue. Many press on nail kits include both, but if not, adhesive tabs are almost always provided.
Glue tabs are quick, easy to use, and less damaging to natural nails, making them perfect for short-term wear ( but I will share a tip to make them last longer ).
Nail glue, on the other hand, offers a much stronger hold and can keep your press-on nails secure for several days. Depending on your needs, you can choose the method that works best for you.
Applying Press On Nails with Glue/Adhesive Tabs:
1. Select your Glue Tab Size :
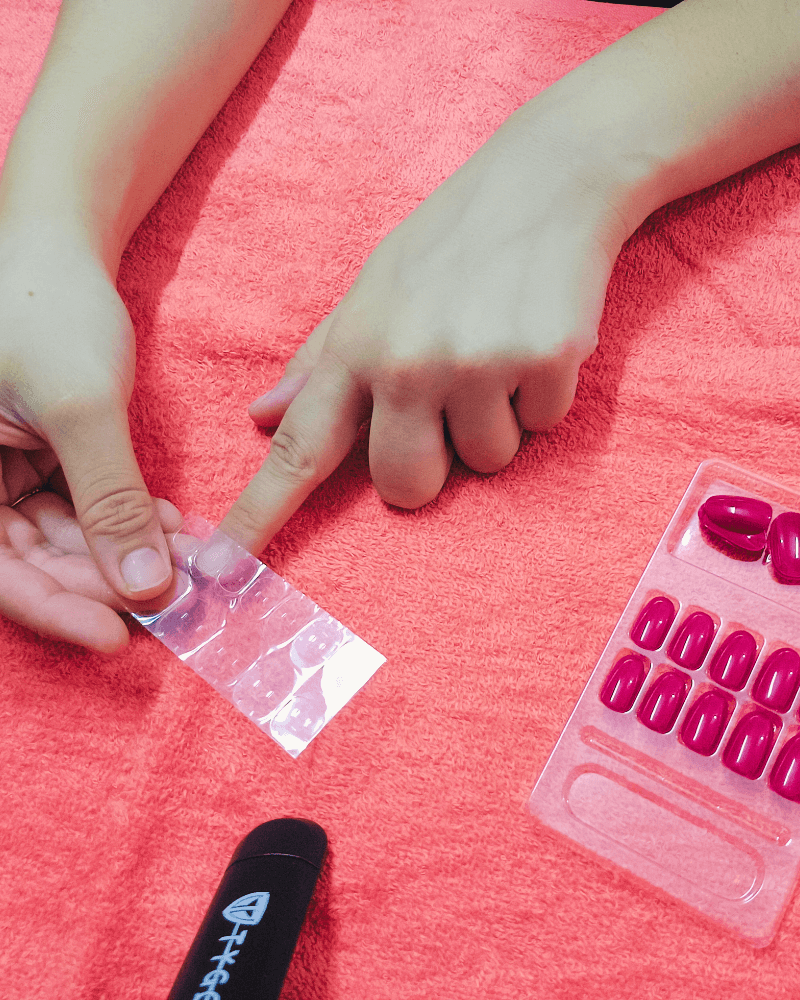
Start by placing the glue tabs over each nail to find the right size — this will help you to ensure a snug fit for every press-on.
Once you’ve matched the tabs to your nails, stick them down carefully and smooth out any air bubbles. Remove the top layer from the tab.
PRO TIP: ( To make press on nails last longer with the glue tabs )
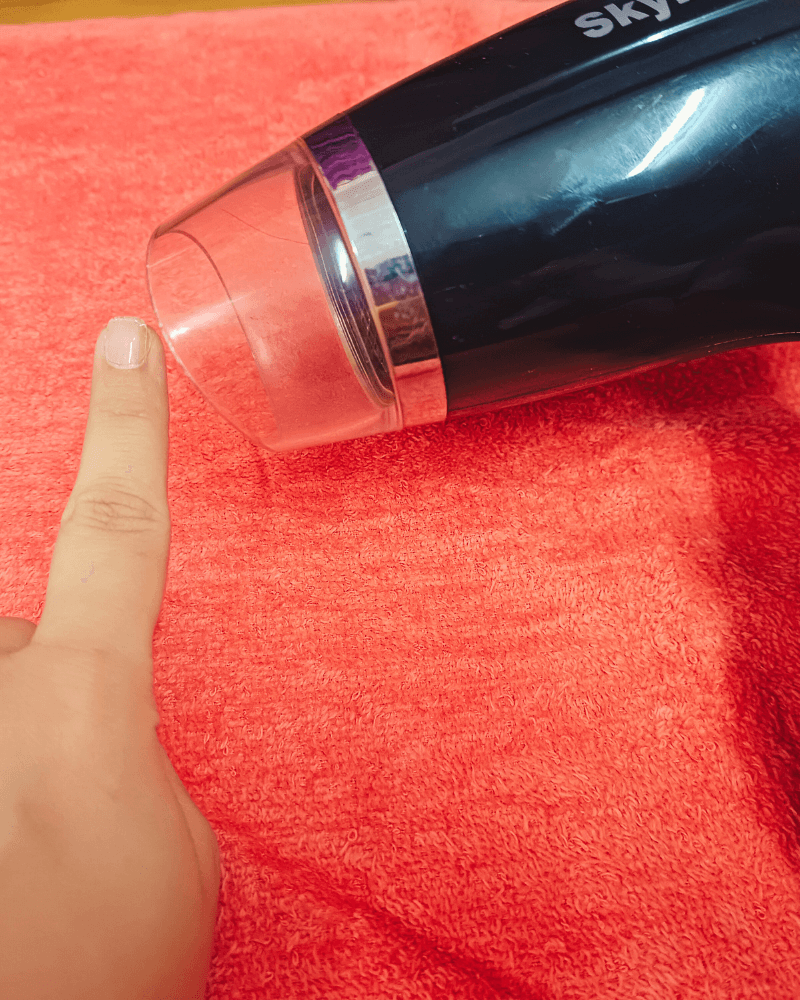
Use a hair dryer on low heat for just a few seconds to warm the tabs slightly. This softens the adhesive, giving it a stronger grip.
Then, press the nail on from cuticle to tip, holding firmly for 20–30 seconds and done. Repeat this same process with all the other nails.
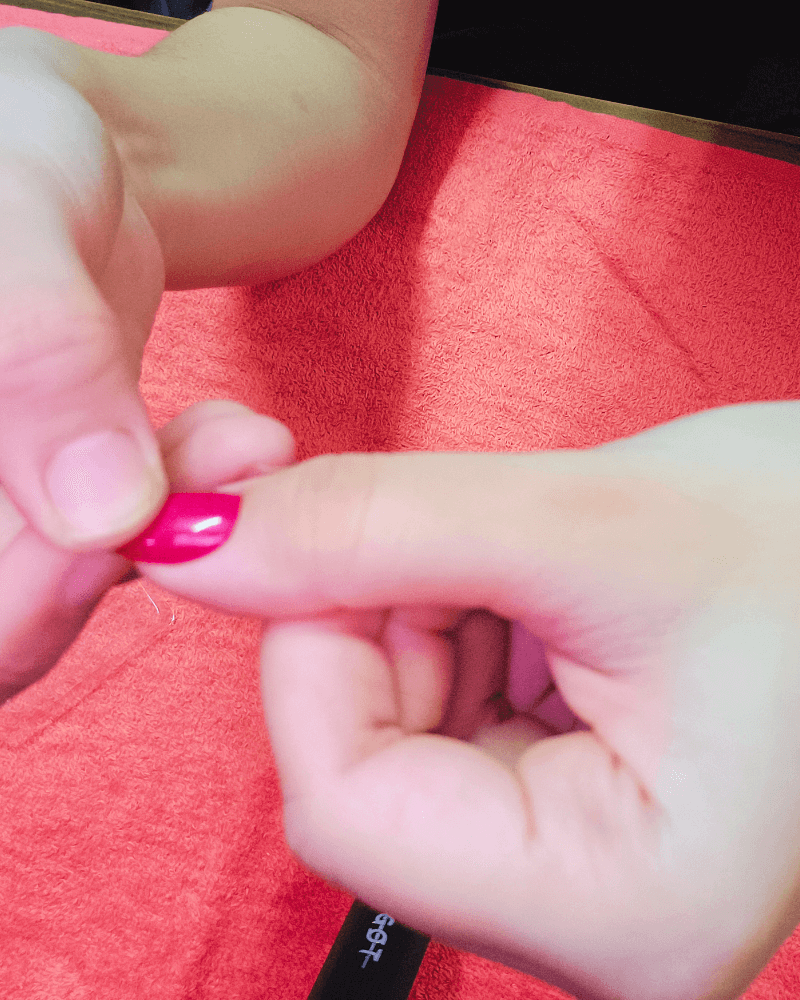
Applying Press on Nails with Nail Glue:
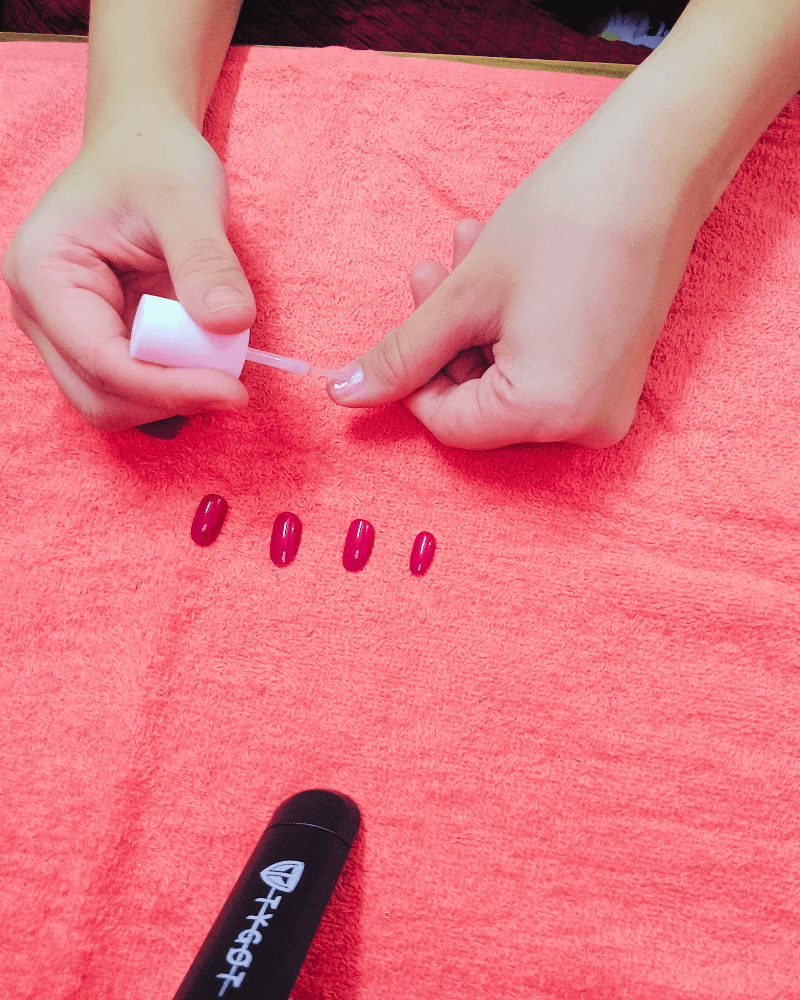
For a more longer-lasting hold, nail glue is the best option. Start by applying a thin layer of glue to your natural nail and a small dot inside the press-on nail.
Be careful, do not use too much, as excess glue can spill over the sides. Once ready, align the press-on with your cuticle and press down firmly from base to tip, holding it in place for about 20–30 seconds.
This creates a strong bond that can keep your press-on nail secure for a week or even longer with proper care.
Step 6 Final Touch :
Once your press-on nails are secure, it’s time to add some finishing touches that make all the difference.
Gently clean your hands using a wipe to remove any glue residue, then massage a few drops of cuticle oil around the nail bed to keep the skin soft and nourished.
Follow it up with a light hand cream to lock in moisture and give your hands a fresh, polished look.
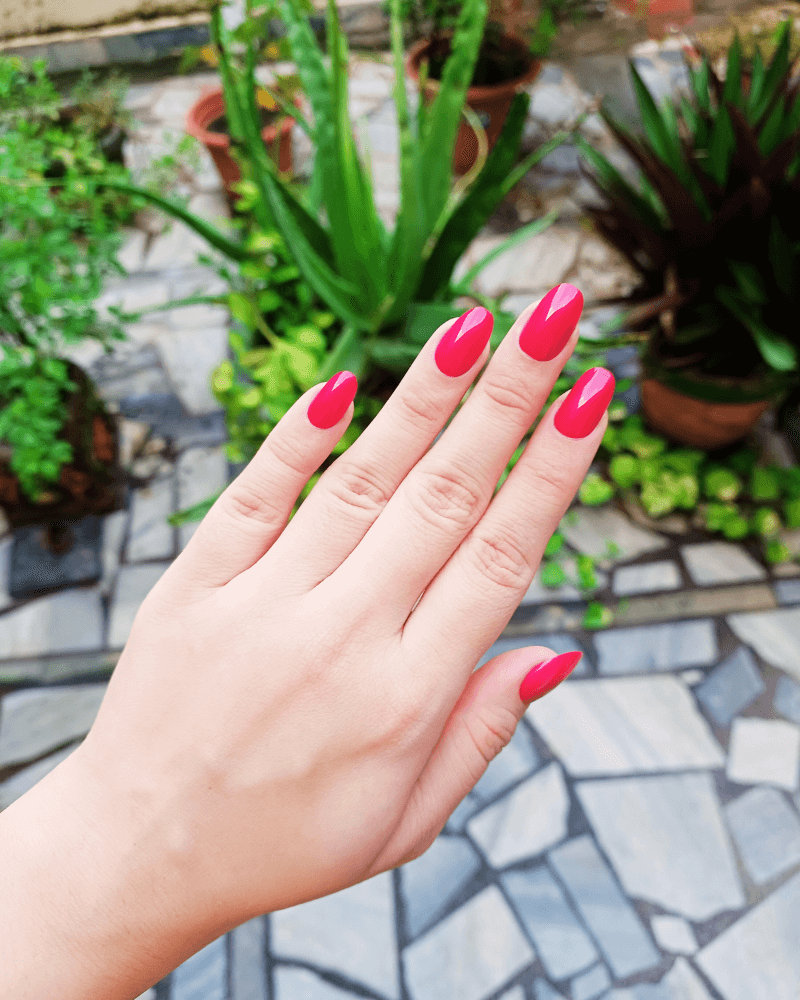
These small steps don’t just care for your skin — they also give your press-on manicure that salon-quality finish you’ll love showing off.
Final Thoughts :
Press-on nails are such a wonderful way to enjoy a stylish manicure without spending hours at the salon. With just a little preparation and care, they can last much longer than most people expect.
From trimming and buffing to choosing the right size, each step helps your press-on nails stay secure and look more natural.
What makes press-on nails so special is their versatility. You can change them as often as you like, explore different shapes or designs, and still keep your natural nails safe underneath.
And by adding small habits like applying cuticle oil or avoiding too much water right after application, you’ll notice your manicure looking fresh for days.
Love This Post ? Save on Pinterest

Leave a Reply
You must be logged in to post a comment.